Red Velvet Cookies have always held a special place in my heart, a little bit of magic in every bite. I remember the first time I truly fell in love with them; it was at a small, charming bakery tucked away in a cobblestone alley during a college trip. One bite of their soft, scarlet cookie, perfectly balanced with that tangy cream cheese frosting, and I was utterly smitten. From that moment, I was on a mission to recreate that exact feeling in my own kitchen.
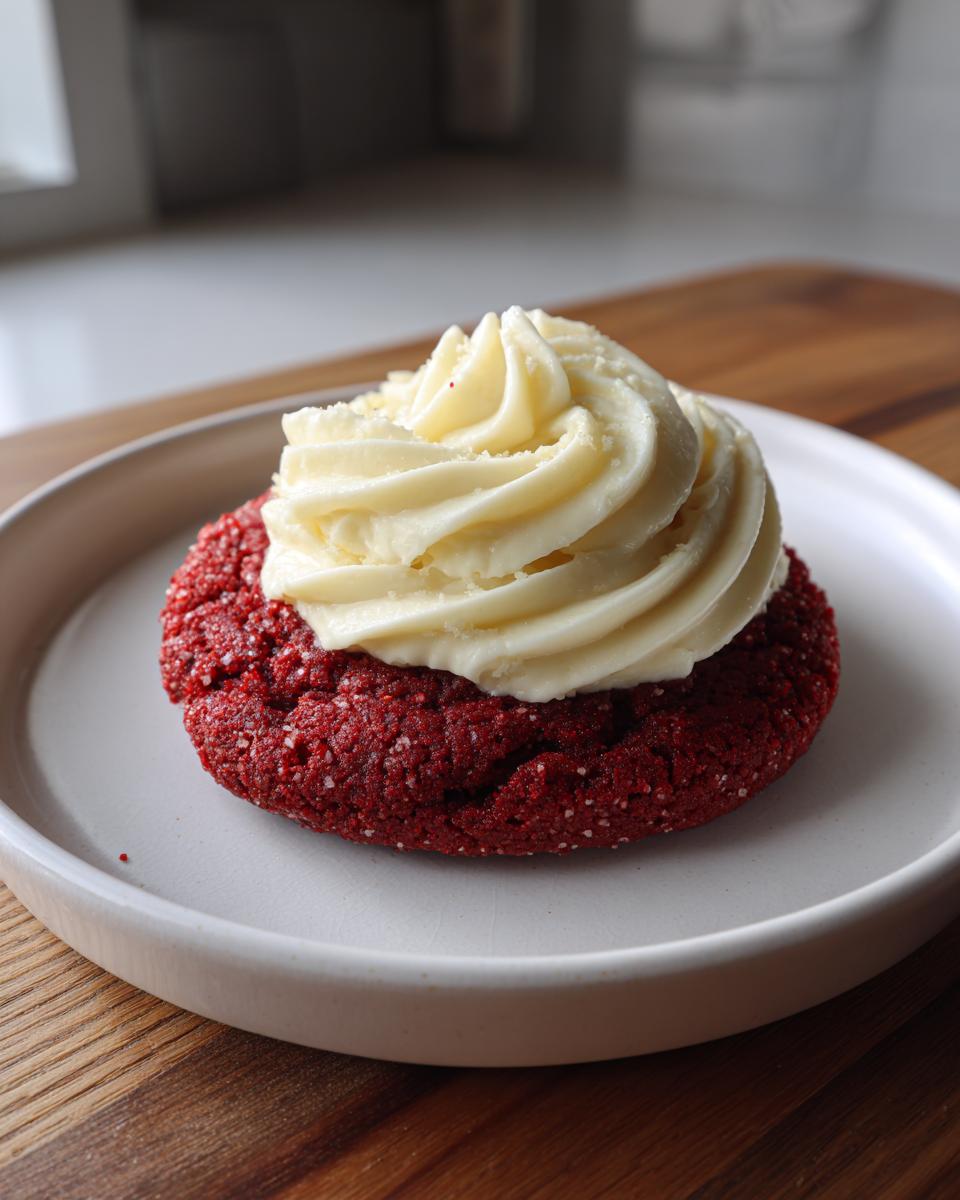
Over the years, I’ve baked countless batches of classic desserts, refining recipes until they sing. These Red Velvet Cookies are the culmination of that passion, a tribute to that unforgettable bakery treat. They’re more than just a cookie; they’re an experience – a rich, subtly cocoa-infused dough, vibrant red, yielding a tender chew, all crowned with a swirl of luscious, sweet-tart cream cheese frosting. It’s a flavor profile that’s both comforting and sophisticated, and I can’t wait for you to discover the joy of making them yourself.
Why You’ll Love These Red Velvet Cookies
Making these Red Velvet Cookies will quickly become your new favorite baking adventure. They’re incredibly satisfying to make and even more delightful to eat. Here’s why you’ll adore this recipe:
- Effortlessly Delicious: Simple steps lead to spectacular results every time.
- Unforgettable Flavor: The perfect balance of rich cocoa, subtle tang, and sweet cream cheese.
- Crowd-Pleasing Perfection: These cookies disappear fast at gatherings, always a guaranteed hit!
The Allure of Homemade Red Velvet Cookies
Homemade Red Velvet Cookies truly stand apart from anything you can buy at a store. You control the quality of every ingredient, ensuring unparalleled freshness and flavor. That soft, chewy texture and vibrant color, combined with freshly made, tangy cream cheese frosting, create a gourmet experience that store-bought simply can’t replicate.
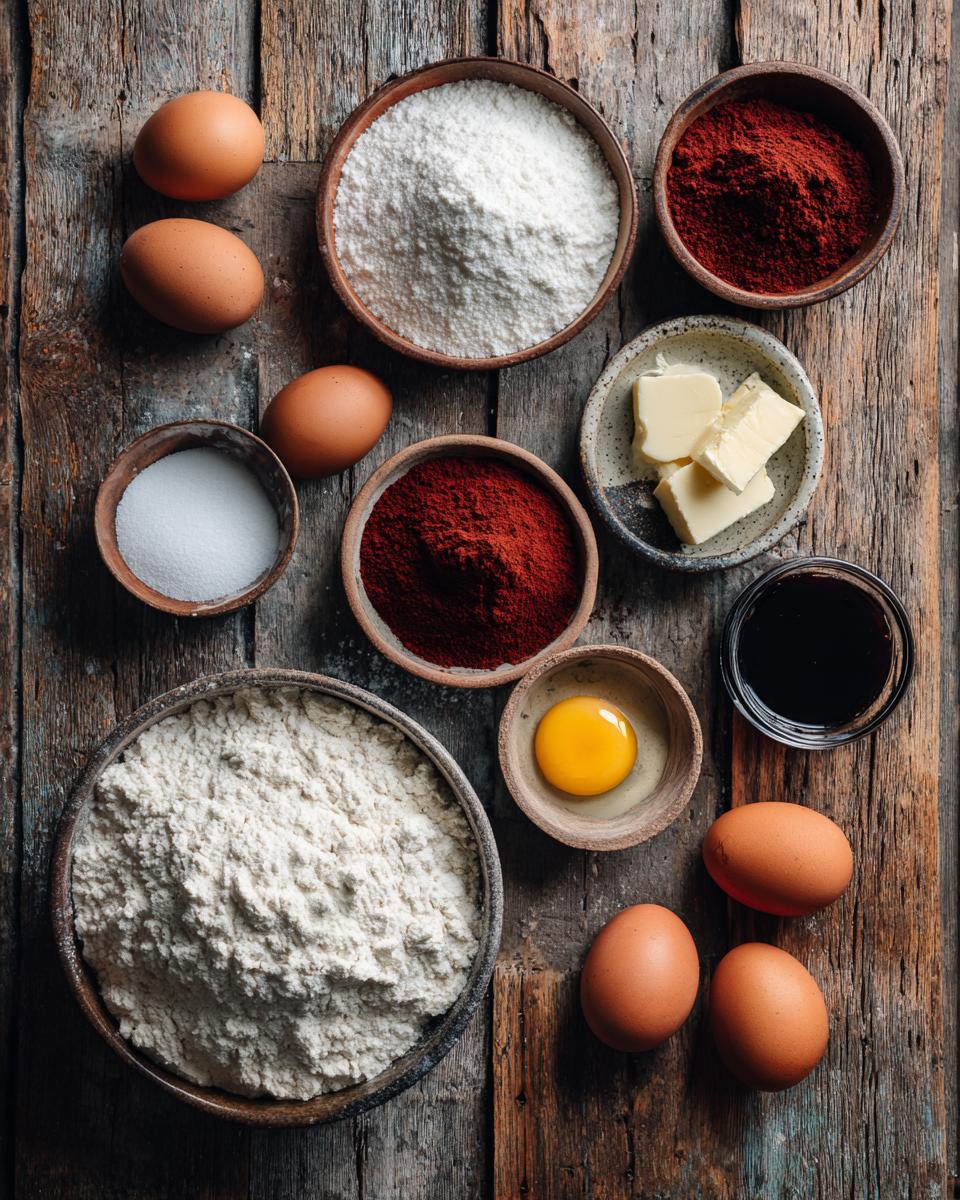
Essential Ingredients for Perfect Red Velvet Cookies
Creating truly spectacular Red Velvet Cookies starts with having all your ingredients ready and measured. Think of your kitchen as a culinary laboratory, and these are your precious elements! I always make sure everything is at the right temperature and measured precisely before I even think about mixing. This recipe relies on a few key players, from the flour that gives them structure to the rich cream cheese that makes the frosting so irresistible. Don’t skip any of these – they all work together to create that classic red velvet magic.
Ingredients for the Red Velvet Cookies
- 2 1/2 cups all-purpose flour
- 1 teaspoon baking soda
- 1/2 teaspoon salt
- 1/2 cup unsalted butter, softened
- 1 1/2 cups granulated sugar
- 2 large eggs
- 1 tablespoon unsweetened cocoa powder
- 1 tablespoon red food coloring
- 1 teaspoon alcohol-free vanilla extract
- 1/2 cup buttermilk
Ingredients for the Cream Cheese Frosting
- 4 ounces cream cheese, softened
- 1/4 cup unsalted butter, softened
- 2 cups powdered sugar
- 1/2 teaspoon alcohol-free vanilla extract
How to Make Red Velvet Cookies: Step-by-Step Guide
Making these delightful Red Velvet Cookies is a straightforward process, but paying attention to each step will ensure perfect results every time. I’ve broken it down into manageable parts, from mixing your vibrant dough to baking them to golden-edged perfection, and finally, swirling on that irresistible cream cheese frosting. Follow along, and you’ll be enjoying these beauties in no time!
Preparing Your Red Velvet Cookie Dough
First, preheat your oven to 350°F (175°C) and line baking sheets with parchment paper. In a medium bowl, whisk together the flour, baking soda, and salt. In a separate large bowl, cream together the softened butter and granulated sugar until it’s light and fluffy – this usually takes about 2-3 minutes with an electric mixer. Beat in the eggs one at a time, ensuring each is fully incorporated before adding the next. Stir in the cocoa powder, red food coloring, and alcohol-free vanilla extract until evenly colored and combined. Finally, alternately add your dry ingredients and buttermilk to the wet mixture, beginning and ending with the dry. Mix until just combined; don’t overmix!
Baking and Cooling Your Red Velvet Cookies
Once your dough is ready, drop rounded tablespoons of the dough onto your prepared baking sheets, leaving a little space between each cookie. Bake for 10-12 minutes, or until the edges are set and the centers look just slightly soft. This ensures a chewy cookie! Let them cool on the baking sheets for a few minutes before carefully transferring them to a wire rack to cool completely. This prevents them from breaking and helps them firm up.
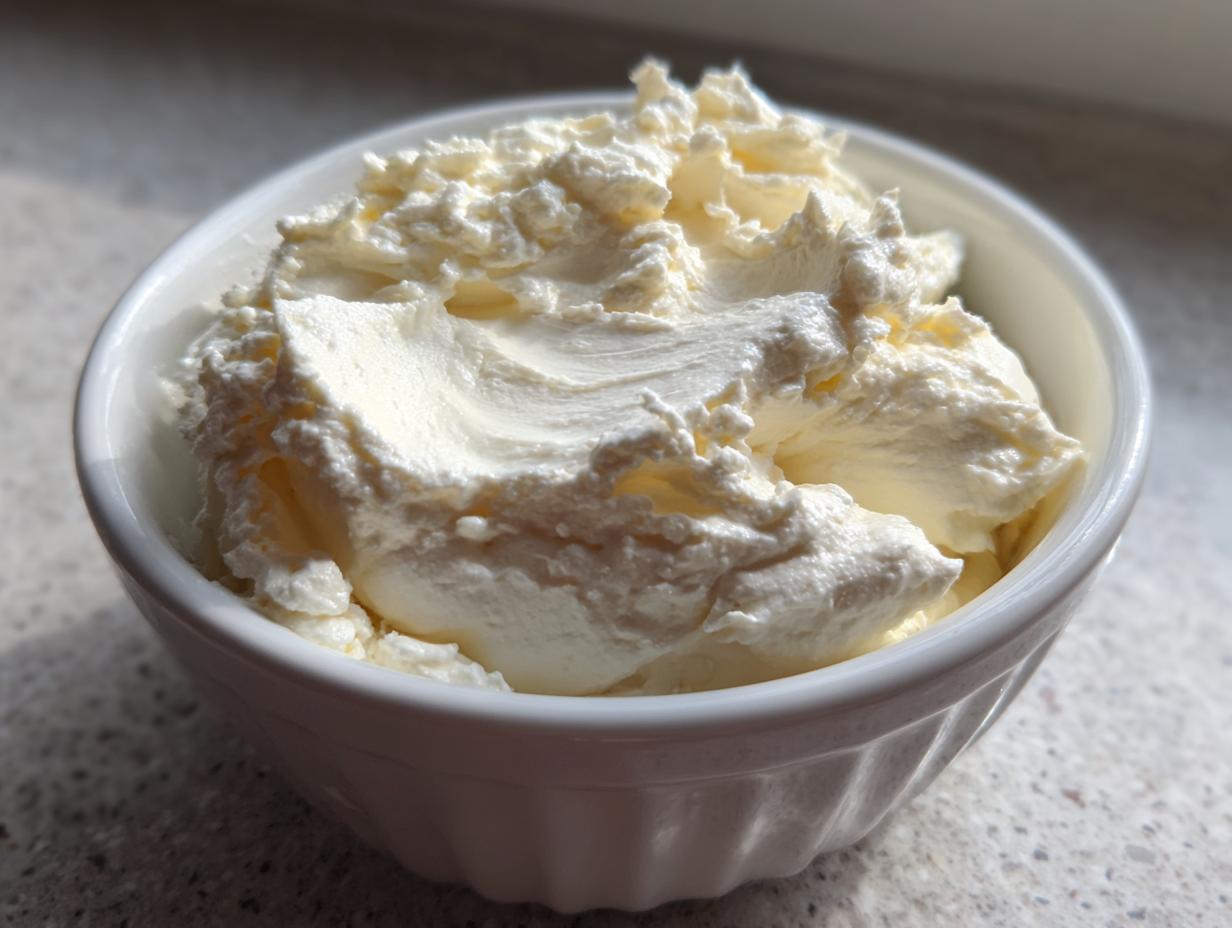
Crafting the Cream Cheese Frosting for Red Velvet Cookies
While your Red Velvet Cookies are cooling, you can whip up the dreamy cream cheese frosting. In a medium bowl, beat together the softened cream cheese and softened butter until the mixture is completely smooth and lump-free. Gradually beat in the powdered sugar, one cup at a time, until smooth and well combined. Stir in the alcohol-free vanilla extract. Once the cookies are completely cool, spread or pipe this luscious frosting generously onto each one. Enjoy!
Tips for Achieving the Best Red Velvet Cookies
Making delicious Red Velvet Cookies is an absolute joy, and a few small tips can elevate your baking from good to truly exceptional. The details really do matter here! For instance, the quality of your red food coloring can significantly impact the vibrancy of your cookies, so I always opt for a good gel-based color. Also, don’t underestimate the power of properly measured ingredients – baking is a science, after all!
One of my top secrets for that perfect soft, chewy texture is to underbake them ever so slightly. They’ll continue to set as they cool on the baking sheet. And for the frosting, make sure your cream cheese and butter are perfectly softened; this prevents lumps and ensures a silky-smooth finish.
Mastering Your Red Velvet Cookies
For optimal cookie texture and flavor, always ensure your butter, eggs, and buttermilk are at room temperature before mixing. This allows them to cream together smoothly, creating a uniform batter. When combining wet and dry ingredients, mix just until combined; overmixing can develop gluten, leading to tougher cookies instead of that delightful chew.
Red Velvet Cookies: Storage and Serving Suggestions
Once you’ve baked and frosted your beautiful Red Velvet Cookies, you’ll want to make sure they stay fresh and delicious. Proper storage is key, especially with that creamy frosting. But beyond just keeping them fresh, why not get a little creative with how you serve them? They’re too pretty and tasty not to show off!
Storing Your Delicious Red Velvet Cookies
To maintain maximum freshness, store your frosted Red Velvet Cookies in an airtight container. If they’re frosted, it’s best to keep them in the refrigerator for up to a week. If unfrosted, they’ll be fine at room temperature for up to 3 days.
Creative Ways to Serve Red Velvet Cookies
These beautiful cookies are perfect on their own, but also shine on a dessert platter. Try them with a scoop of vanilla bean ice cream, or as part of a holiday cookie assortment. They make delightful gifts too!
Frequently Asked Questions About Red Velvet Cookies
I get a lot of questions about making Red Velvet Cookies, and I love helping fellow bakers troubleshoot! Here are some of the most common queries I hear, along with my best advice. Don’t let a little hiccup deter you from making these gorgeous cookies; they’re worth every bit of effort, and often, the solution is simpler than you think. Understanding these common points will help you achieve perfect results every single time.
Can I Make Red Velvet Cookies Ahead of Time?
Absolutely! You can prepare the cookie dough and refrigerate it for up to 3 days, or freeze it for up to 3 months. Bake as directed when ready.
What Can I Substitute for Buttermilk in Red Velvet Cookies?
If you don’t have buttermilk, you can easily make your own! Add 1 tablespoon of white vinegar or lemon juice to a liquid measuring cup, then fill the rest with regular milk to equal 1/2 cup. Let it sit for 5-10 minutes until it slightly curdles.
Why Are My Red Velvet Cookies Spreading Too Much?
Cookies often spread too much if your butter was too soft (or melted), your oven temperature is too low, or you’re using too much leavening. Ensure your butter is softened but still cool to the touch. Also, make sure your baking soda is fresh, and your oven thermometer is accurate.
Estimated Nutritional Information for Red Velvet Cookies
Please note that the nutritional information provided for these Red Velvet Cookies is an estimate. Calorie counts and other values can vary depending on the specific brands of ingredients you use, ingredient substitutions, and precise serving sizes. It’s always a good idea to factor in these variables for your personal dietary needs.
Share Your Red Velvet Cookies Experience
I absolutely adore hearing from you! If you’ve tried these Red Velvet Cookies, please leave a comment below and let me know how they turned out. Did you love them as much as I do? Don’t forget to rate the recipe and share your beautiful creations on social media using #MyRedVelvetCookies. Let’s build a community of happy bakers!
Print
Red Velvet Cookies with Cream Cheese Frosting
- Total Time: 32 minutes
- Yield: 24 cookies 1x
- Diet: Vegetarian
Description
Soft, chewy red velvet cookies with a hint of cocoa and a rich cream cheese frosting.
Ingredients
- 2 1/2 cups all-purpose flour
- 1 teaspoon baking soda
- 1/2 teaspoon salt
- 1/2 cup unsalted butter, softened
- 1 1/2 cups granulated sugar
- 2 large eggs
- 1 tablespoon unsweetened cocoa powder
- 1 tablespoon red food coloring
- 1 teaspoon vanilla extract
- 1/2 cup buttermilk
- 4 ounces cream cheese, softened
- 1/4 cup unsalted butter, softened
- 2 cups powdered sugar
- 1/2 teaspoon vanilla extract
Instructions
- Preheat oven to 350°F (175°C). Line baking sheets with parchment paper.
- In a medium bowl, whisk together flour, baking soda, and salt.
- In a large bowl, cream together 1/2 cup butter and granulated sugar until light and fluffy.
- Beat in eggs one at a time.
- Stir in cocoa powder, red food coloring, and 1 teaspoon vanilla extract.
- Alternately add dry ingredients and buttermilk to the wet ingredients, beginning and ending with dry ingredients. Mix until just combined.
- Drop rounded tablespoons of dough onto prepared baking sheets.
- Bake for 10-12 minutes, or until edges are set.
- Let cool on baking sheets for a few minutes before transferring to a wire rack to cool completely.
- For the frosting, beat together cream cheese and 1/4 cup butter until smooth.
- Gradually beat in powdered sugar until smooth.
- Stir in 1/2 teaspoon vanilla extract.
- Spread frosting on cooled cookies.
Notes
- For a deeper red color, you can add a bit more food coloring.
- Make sure your butter and cream cheese are at room temperature for the best frosting consistency.
- Store cookies in an airtight container at room temperature for up to 3 days, or in the refrigerator for up to a week.
- Prep Time: 20 minutes
- Cook Time: 12 minutes
- Category: Dessert
- Method: Baking
- Cuisine: American
Nutrition
- Serving Size: 1 cookie
- Calories: 250
- Sugar: 30g
- Sodium: 150mg
- Fat: 12g
- Saturated Fat: 7g
- Unsaturated Fat: 4g
- Trans Fat: 0g
- Carbohydrates: 35g
- Fiber: 1g
- Protein: 3g
- Cholesterol: 40mg